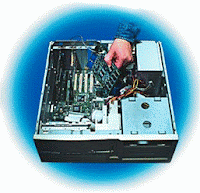
Before you start: Ground yourself. Lightly touch your PC's metal chassis to discharge any current from your body. Then unplug the power cable slowly.
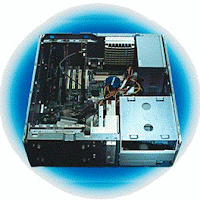
Turn off the computer and open the case. Locate an available PCI slot for the MPEG-to decoder card (if your kit includes one). If you're installing a SCSI drive and you don't yet have a SCSI controller in the system, you'll need a second slot for the SCSI card.
PCI : Stands for Peripheral Component Interconnect, a local bus standard developed
by Intel Corporation.
MPEG : Moving Picture Experts Group develops standards for digital video and
audio compression.
SCSIS : Stands for small Computer System Interface, an interface that serves as an
expansion bus that can be used to connect hard disk drives, tape drives, and
other hardware components.
To install any hardware the computer or the Base Unit has to be unplug the
power and the cable, for example the picture showing below.

Step 2) Remove the end bracket for the selected slot, insert the card, and secure the card's own end bracket.
 Step 3)
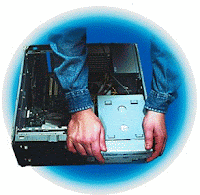
Locate an available 5.25-inch drive bay that opens into the front of the case, and Remove the bay cover if necessary.
 Step 4)
Configure the jumpers on your DVD drive. For an IDE drive, set the jumpers for either master, slave, or sole drive, depending on what else is on the channel. For a SCSI drive, set the jumpers to the correct ID or termination setting
 Step 6)
Attach the cables. Connect the DVD drive to the IDE or SCSI bus and to the power supply. Also connect the DVD drive to your sound card - or connect the decoder card (if included) to the DVD drive and sound card. (If you already have a CD-ROM drive, you can use a micro stereo patch cord to connect the external headphone jack on the DVD drive to your sound card's line-in jack).


No comments:
Post a Comment